How to Remove Lash Extensions At Home Safe and Sound!
Lash extensions can be a great way to enhance your natural beauty and achieve long, voluminous lashes. However, there may come a time when you want to remove them. Whether you're looking to switch up your look or give your natural lashes a break, and you want to save up time and money by not going to the lash salon, it's important to know how to safely and correctly remove lash extensions at home. In this blog post, we will provide you with step-by-step instructions to ensure a safe and effective removal process.
What are Lash Extensions?
Lash extensions, or eyelash extensions, are a popular beauty enhancement procedure designed to achieve any lash styles you desire.
They are individual synthetic or natural fibers attached to each of your natural eyelashes using a specialized adhesive. This method is a semi-permanent enhancement that can last up to months, creating a long-lasting and glamorous look.

Why do we need to remove the lash extension?
Ever wondered why removing lash extensions is necessary when they're attached to our natural lashes? Picture this: our natural lashes grow, and different adhesives bring varied lifespans to extensions, as time goes by, causing the eventual shedding of the extensions.
Each lash has its unique growth rate and length, resulting in individual extensions falling out at different times. Imagine this scenario without periodic refills: your lash set becomes a chaotic mix of extensions hanging on for dear life alongside your natural lashes. The once-beautiful set loses its charm, no longer the epitome of beauty you desire. Whether you seek a change in style, a break for your lashes, or simply want to say goodbye to the current extensions, it's time for removal!
Think of it as a makeover for your lashes, restoring them to their natural state or preparing for a new look. Removing extensions is not just about aesthetics; it's about respecting your lash health and allowing them to rejuvenate. Embrace the cycle of growth, and let your lashes breathe freely.
When should you remove your lash extensions?
Knowing when it's time to remove your lash extensions is crucial. Check for these signs:
1. Shedding Patterns
Observe the shedding patterns of your lash extensions. If you notice an increase in the number of fallen extensions during your daily routine, it could signify that they are reaching the end of their lifespan and are ready for removal. As your natural lashes grow, your extensions follow suit.
2. Sensations of Discomfort
Pay attention to any discomfort or irritation around the eye area. Sometimes, as lash extensions near their natural shedding phase, they can cause slight discomfort or a feeling of heaviness.
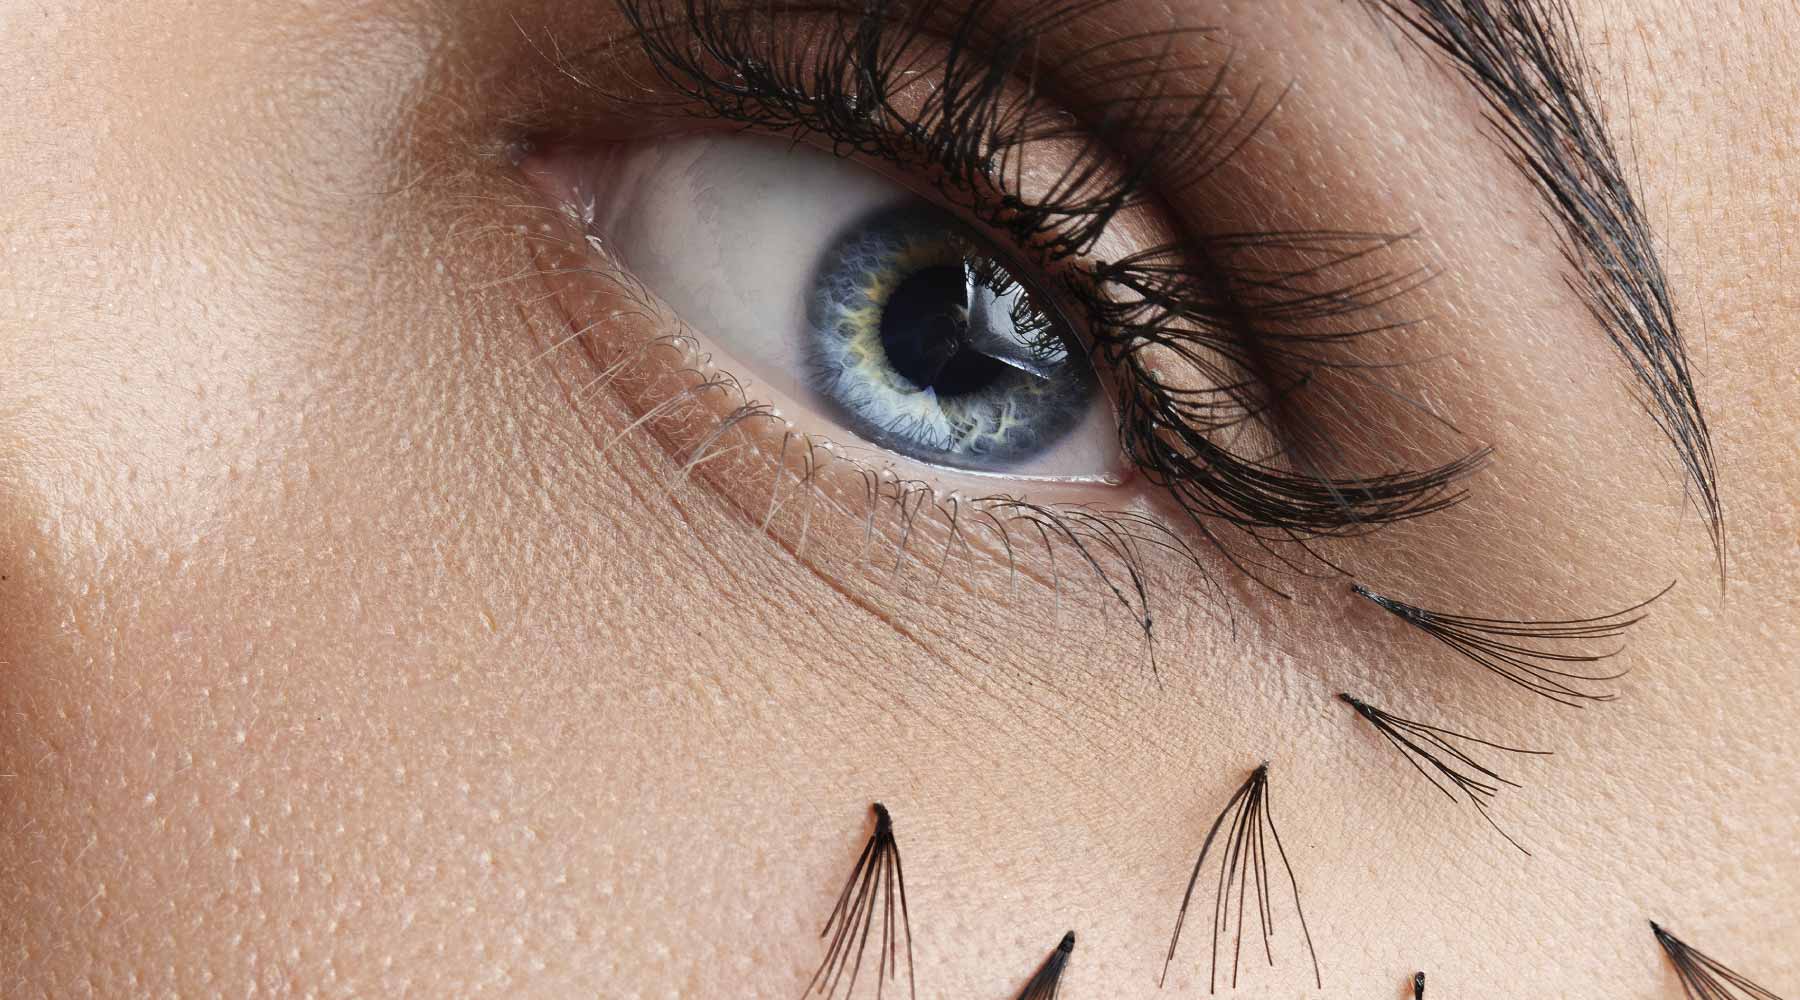
3. Visible Gaps or Natural Lash Growth
Take a closer look at your lash line. If you spot visible gaps or notice the emergence of new, shorter natural lashes amidst the extensions, it's a clear indication that your natural lashes are growing, signaling the need for removal.
4. Uneven or Disordered Appearance
Assess the overall appearance of your lash set. If the extensions appear unevenly distributed or some seem to be clinging haphazardly alongside your natural lashes, creating an irregular or disordered look, it's time for removal.
How to remove lash extension safely and correctly?
Improper removal can cause c. Hence, removing lash extensions correctly is crucial to avoid damaging your natural lashes. Lash extension removal is usually done by professional lash technicians, but sometimes you don't want to come to the lash salons just for the removal and decide to do it yourself, then you should follow the correct removal process to minimize the risk of damage and maintain the health of your natural lashes.
Step 1: Prepare your supplies
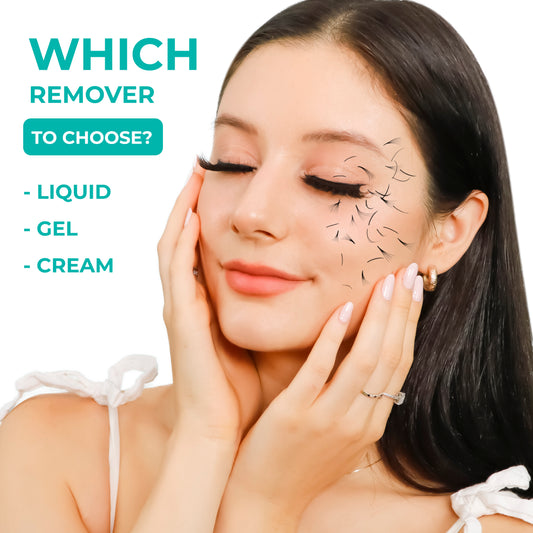
Before you begin the removal process, gather all the necessary supplies. You will need a lash extension remover, which can be purchased from a beauty supply store or online. Additionally, have some cotton pads or swabs, a gentle oil-based cleanser, and a clean towel on hand.
Opt for cream remover with thick consistency, it will prevent the remover formula from entering your eyes, preventing unwanted accidents to your sensitive eye area.
Prepare a clean and comfortable space with ample lighting to ensure a smooth removal process.
For extra protection, you can place under-eye pads below your eyes to protect your skin. This patch will help keep the remover formula may cause itching or irritation. off of your skin
Step 2: Cleanse your lashes
Start by cleansing your lashes with a gentle oil-based cleanser, usually Lash Shampoo. This will help remove any makeup, oils, or debris from your lashes, ensuring a clean surface for the removal process.
Tips: Apply steam to the face to help loosen the adhesive. You can do this by leaning over a bowl of warm water with a towel draped over your head.
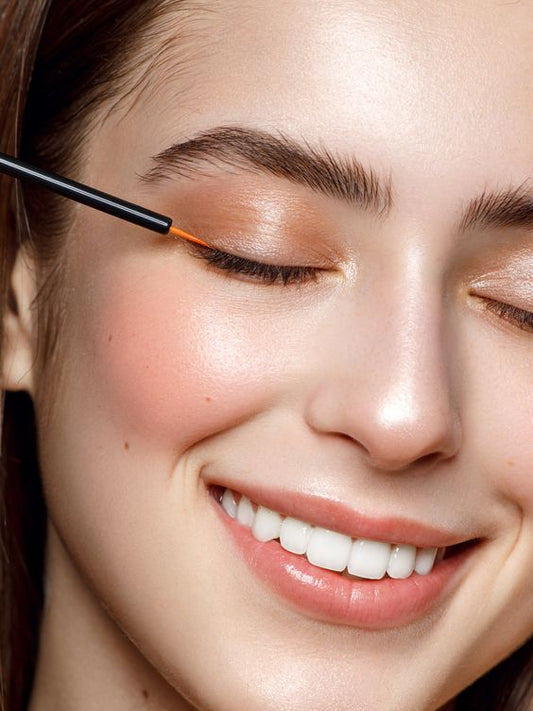
Step 3: Apply the lash extension remover
Using a microfiber brush, apply a small amount of lash extension remover to the base of your lashes and the blue bond area. Be careful not to get the remover in your eyes. Allow the remover to sit for the recommended amount of time specified on the product packaging for the formula to break down the bond.
Remember, it's crucial to keep your eyes closed throughout the entire process.
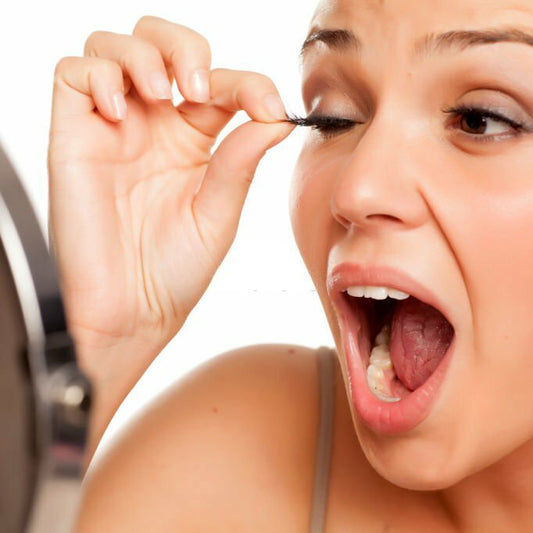
Step 4: Gently remove the lash extensions
After the remover has had time to work, gently start to remove the lash extensions. You can use a clean cotton pad or swab to carefully slide the extensions off your natural lashes. Use a spoolie or lash brush, gently brush through the lashes to encourage the extensions to loosen. But remember, handle your eyes delicately and avoid using any sharp tools or excessive pulling or tugging on the extensions, as this can cause damage to your natural lashes.
For stubborn adhesive areas, don’t try to pull hard at once, repeat the steps, being gentle and persistent until all extensions are removed.
Step 5: Cleanse and moisturize
Once all the lash extensions have been removed, cleanse your lashes again with the oil-based cleanser to remove any remaining residue. After cleansing, apply a nourishing lash serum or moisturizer to help restore and condition your natural lashes.
Step 6: Take a break
Now that your lash extensions have been safely removed, it's a good idea to give your natural lashes a break before getting a new set. Maintain a gentle cleansing routine and avoid applying makeup for a certain period to allow your natural lashes to recover and regenerate, ensuring they stay healthy and strong.
If you experience any complications or adverse reactions, seek professional help immediately to assess and address any issues.
By following these steps, you can safely and correctly remove your lash extensions at home. Remember, if you're unsure or uncomfortable with the removal process, it's always best to seek professional help from a trained lash technician. Your natural lashes will thank you!
YOU MAY ALSO LIKE
Lash Extension Aftercare: Everything You Need To Know
Liquid, Gel, Cream Lash Remover: Which is the one for you?
Cleansers and Primers: What’s the difference?